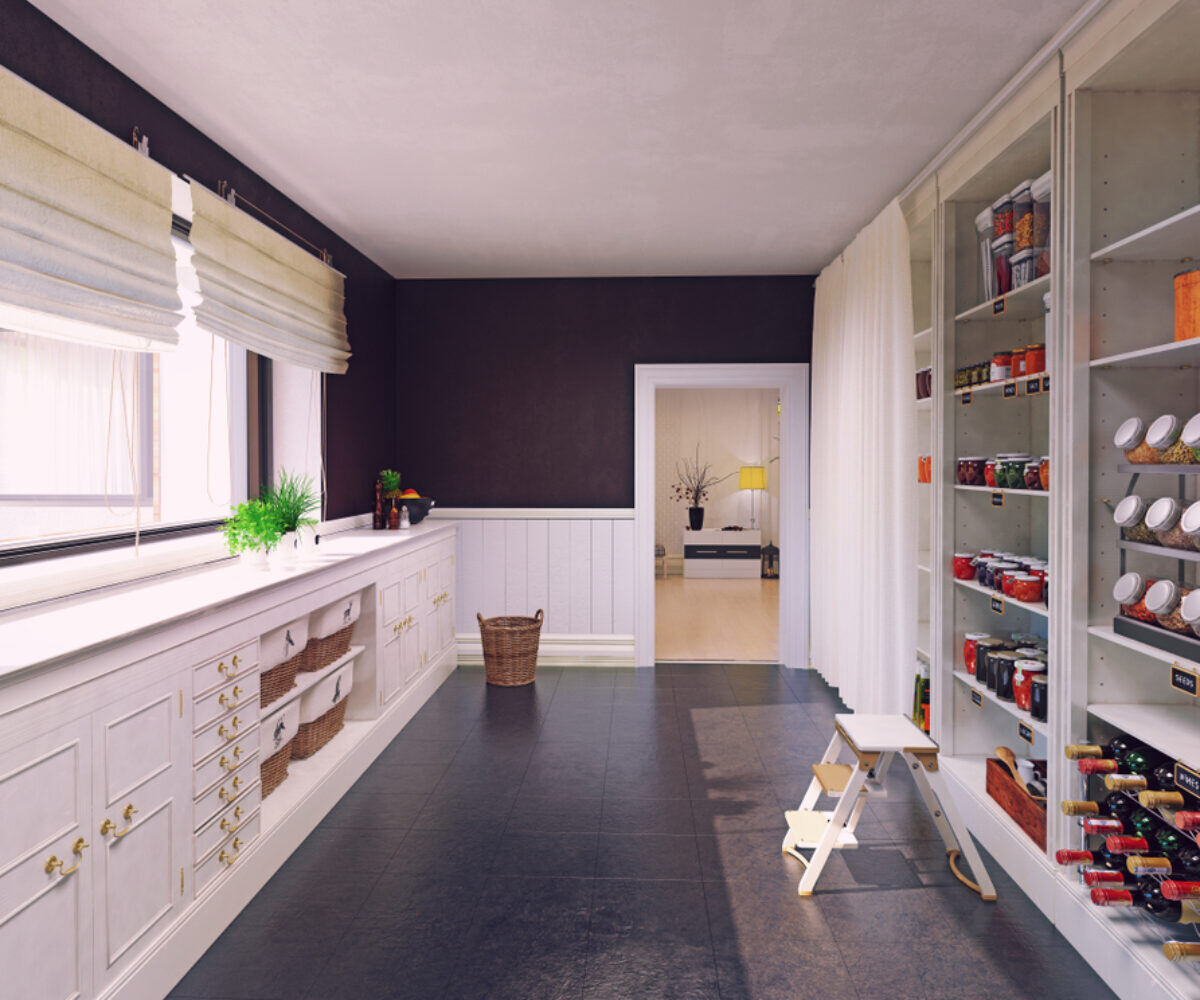
How to Organize the Pantry of Your Dreams

When designing a new home, consider having your home builder add space to your kitchen for a custom pantry. Even a moderately-sized walk-in space can be fitted with enough counter space and electrical supply for a few countertop appliances, such as a mixer and a coffee maker, in addition to the traditional shelving typically found in a pantry. If a custom pantry is not in your plans, you can still make the most of what you’ve got. Make your pantry more than just a wasteland of expired canned-goods! Here are 9 organization and design tips to help you create the pantry of your dreams.
1. Clear everything out.
Create a staging area on a table or island for all the items you remove from your pantry. Take this opportunity to assess what you have, including duplicates. Discard expired items and box up any non-perishable foods that you won’t use for donation to a local food bank. Wipe down the empty shelves. Group similar items together before returning them to the pantry.
2. Invest in clear containers and a label-maker
Clear, stackable containers come in a variety of sizes. Coordinated containers give your pantry a polished, finished look, and make it easy to keep pantry staples such as grains, cereals, nuts, seeds, dried beans, etc, organized and easy to find. Clear canisters with sealing lids keep foods fresh longer and let you see at a glance when supplies run low. Store smaller labeled containers of like items, such as baking soda and baking powder, in one basket. Maximize vertical space by stacking canisters and using wood or wire cabinet shelves. Lazy Susans are perfect for maximizing shelf space and utilizing corner space.
Use a label-maker or colorful Washi tape (decorative paper masking tape that sticks to a variety of surfaces and is easy to remove) to clearly mark the contents of containers and bins.
3. Shop for organizational supplies.
Measure drawers, shelves, and other spaces. Take photos of your space(s) to the store to help you determine what will fit and work best. Resist the temptation to purchase items that seem as if they might be useful, or are simply cute or colorful. Stick with what you actually need and know you will use.
4. Sort all items into categories.
Group items according to how you use them; for example, keep baking items together in one area, snacks in another.
5. Keep cans visible.
Tiered shelves, gravity-fed can dispensers and Lazy Susans can all prevent cans from becoming hidden in the pantry.
6. Make use of doors.
The inside of pantry and cabinet doors can be used to corral a variety of items. Specialty door organizers are perfect for keeping spices, foil and plastic wrap, and bags neat and handy.
7. Determine “prime real estate” and place items, by category.
Think carefully about how — and how often — you use the items in your pantry and place them accordingly. What do you reach for most often? Put those items in the most convenient places. Are there items you want (or do not want) your children to access? Place them appropriately.
8. Hire a professional, if possible.
Professional help is available to not only design and build your pantry space, but also to devise an organizational system and–if you wish–implement it.
9. Organize and maintain.
The ultimate test of good pantry organization is how easy it is to maintain and how well it holds up over time. Keep on track by spending a few minutes each day maintaining and organizing the pantry. Check on supplies when planning meals and restock weekly, or as needed.
/Sheffield_Logo_Horizontal_Reversed.png)


